
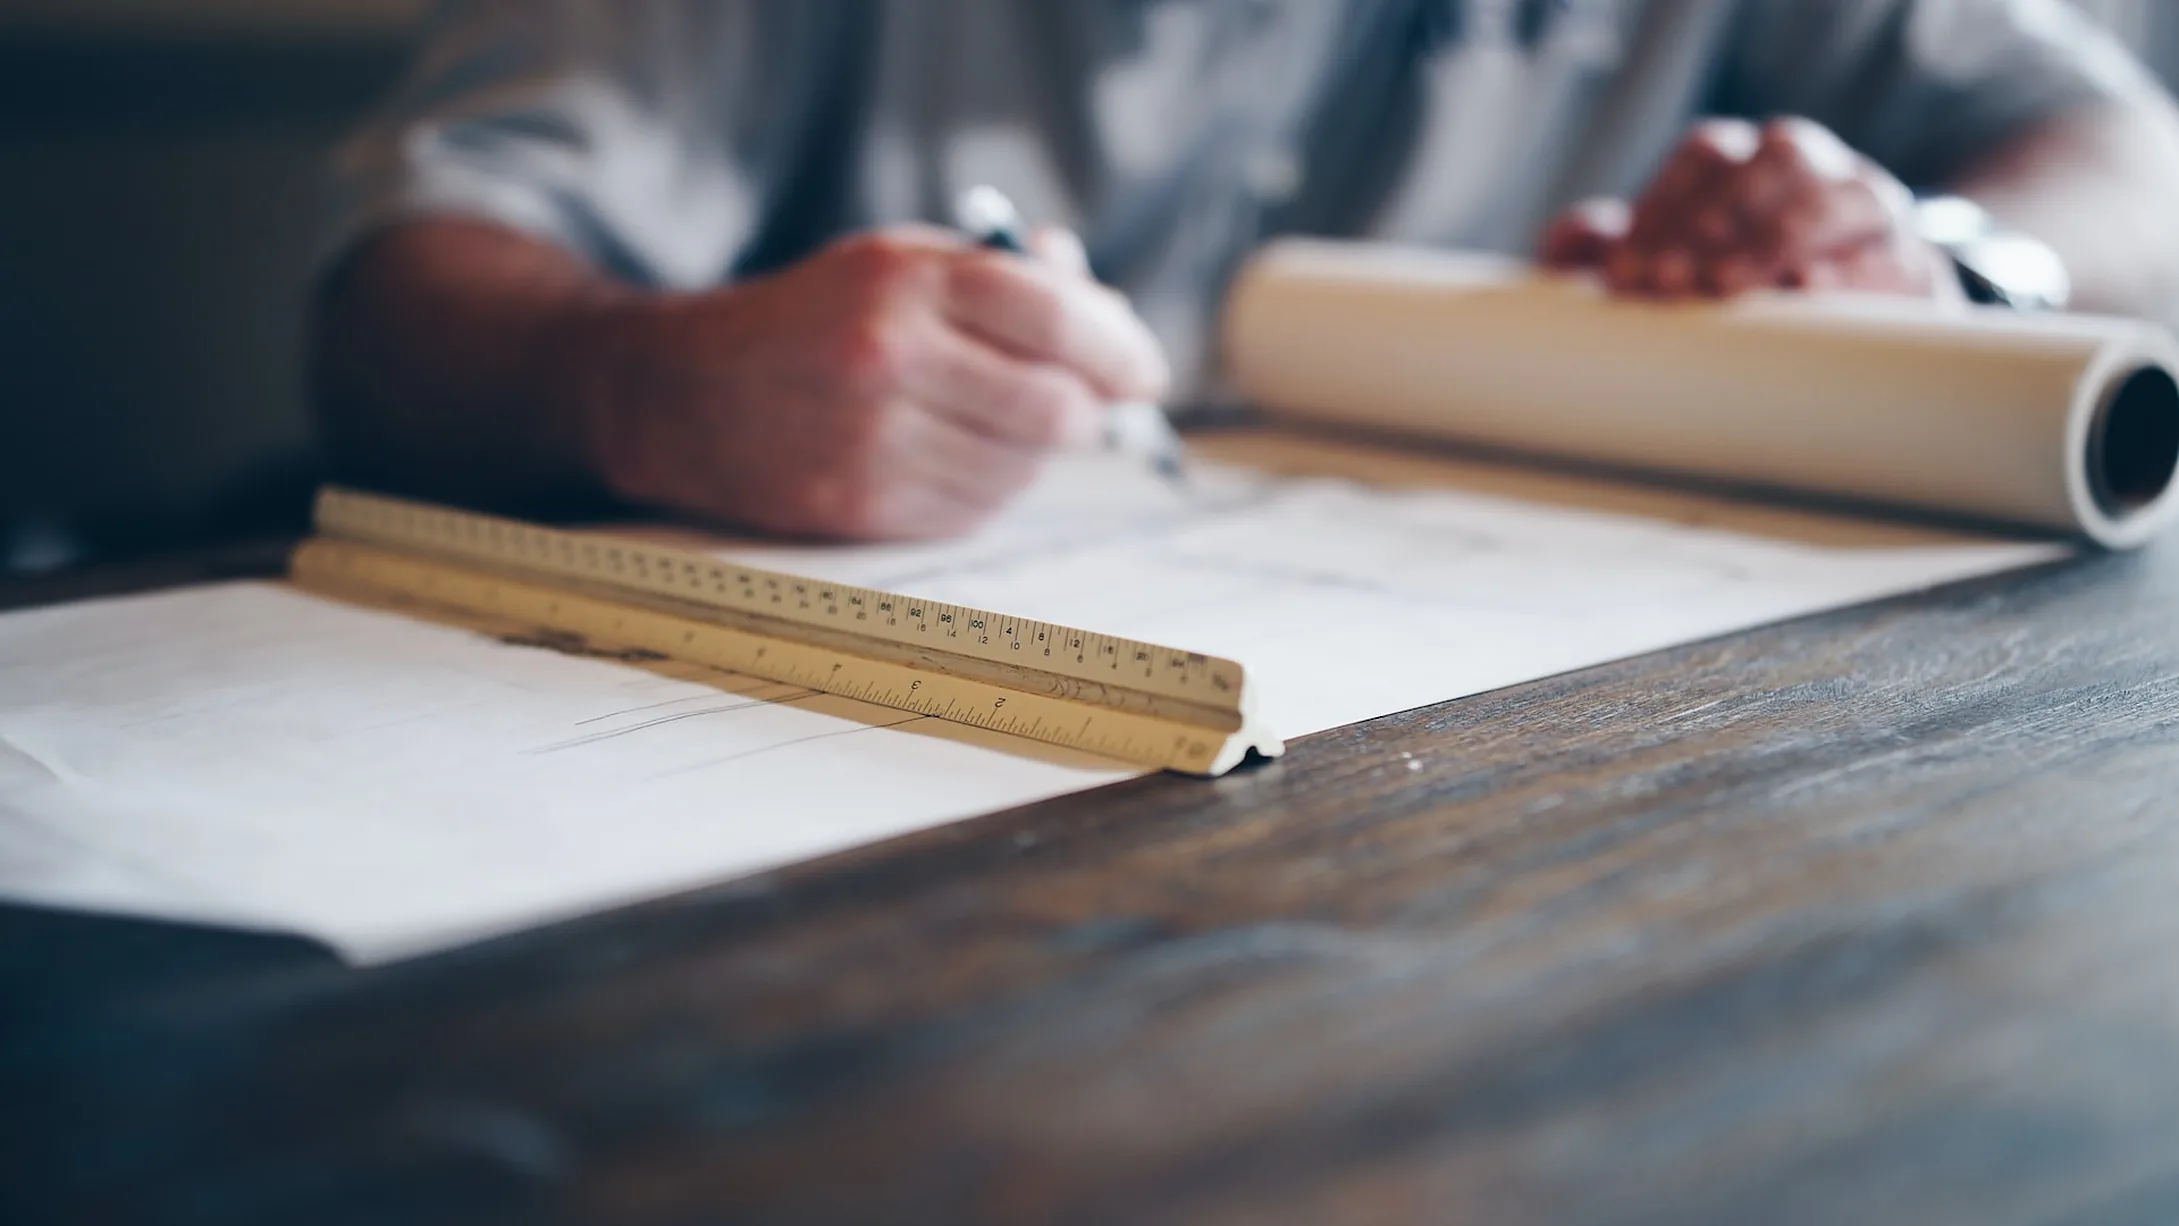
Our outdoor lighting design process
Seventeen steps between the first phone call and a system that still looks right in year eight. The four that matter most are the consultation, the design, the night-time review and everything after it.
Every property starts as a blank canvas
Two houses on the same street, built by the same builder, get different lighting. The trees are different, the planting has grown differently, the owners use the outdoor space differently and the approach is seen from a different angle.
So there is no standard layout and no standard fixture count. The process below is the same every time; what comes out of it is not.
From the first walk to the years afterwards
Design, installation and the night-time review are the visible part. The rest is what keeps a system looking right long after the crew has gone.
1
Free consultation
We walk the property and talk about what you want from it after dark. No fixture types, no terminology — “the front of the house is too dark” is a complete brief.
2
Evaluate the property
Architecture, materials, mature trees, planting, walkways, drives, entrances, patios, pools, courtyards — and the condition of anything already installed.
3
Decide what deserves light
Not everything does. The features that carry the property get light; the rest stay dark on purpose, because contrast is what creates depth.
4
Work out the viewing angles
From the street, from the drive, from the front door, and from inside: the living room, the kitchen, the patio doors. Each one sees a different property.
5
Build the layers
Near, middle and far. A patio that reads to the edge of the paving is a room; a patio with a lit tree beyond it is a garden.
6
Choose the techniques
Uplighting, downlighting, moonlighting, grazing, accent and path lighting — usually several in combination, each for what it is actually good at.
7
Set direction, reach and coverage
Where each fixture sits, how wide the beam is, how far it throws and what it must not hit: windows, sightlines, the neighbour's bedroom.
8
Select the fixtures
Solid brass, low-voltage LED, chosen for the effect and the position rather than from a package. The design decides the count, not the other way round.
9
Review the plan with you
What is being lit, how, and roughly what it will look like — before anything is ordered or a spade goes into the ground.
10
Install the system
Transformer sized and sited, wire buried through narrow openings at roughly 8 to 10 inches, watertight connections, fixtures set to the plan. Most homes take a day or two.
11
Test it
Voltage at the transformer and out on the runs, every fixture and every connection, controls programmed and the schedule set to follow sunset.
12
Night-time review
We come back after dark, because that is the only time the work can actually be judged. Bright spots, dark gaps, glare, shadows, balance across the property.
13
Final adjustments
Aim, position, level, occasionally a fixture moved altogether. Small changes here make the difference between good and finished.
14
Hand over the controls
How the schedule works, how to change it, what the zones do and what to do if something stops behaving.
15
Maintain it
Cleaning, re-aiming and voltage checks as planting grows past where the fixtures were aimed.
16
Repair when needed
Wiring, transformers, controls and fixtures — including systems we did not install.
17
Upgrade when it makes sense
Converting to LED, adding zones or extending into an area that was left for later. Lighting grows with the property.
You do not need to know how any of it works
Customers tell us things like “I want those trees to stand out”, “the backyard should feel bigger at night”, “I don't want to see a row of fixtures” or “I love this stone and never see it after dark”.
All of those are precise instructions. Translating them into beam spreads, mounting heights and transformer loads is our job, and it is the part you should not have to think about.
Lighting cannot be judged in daylight
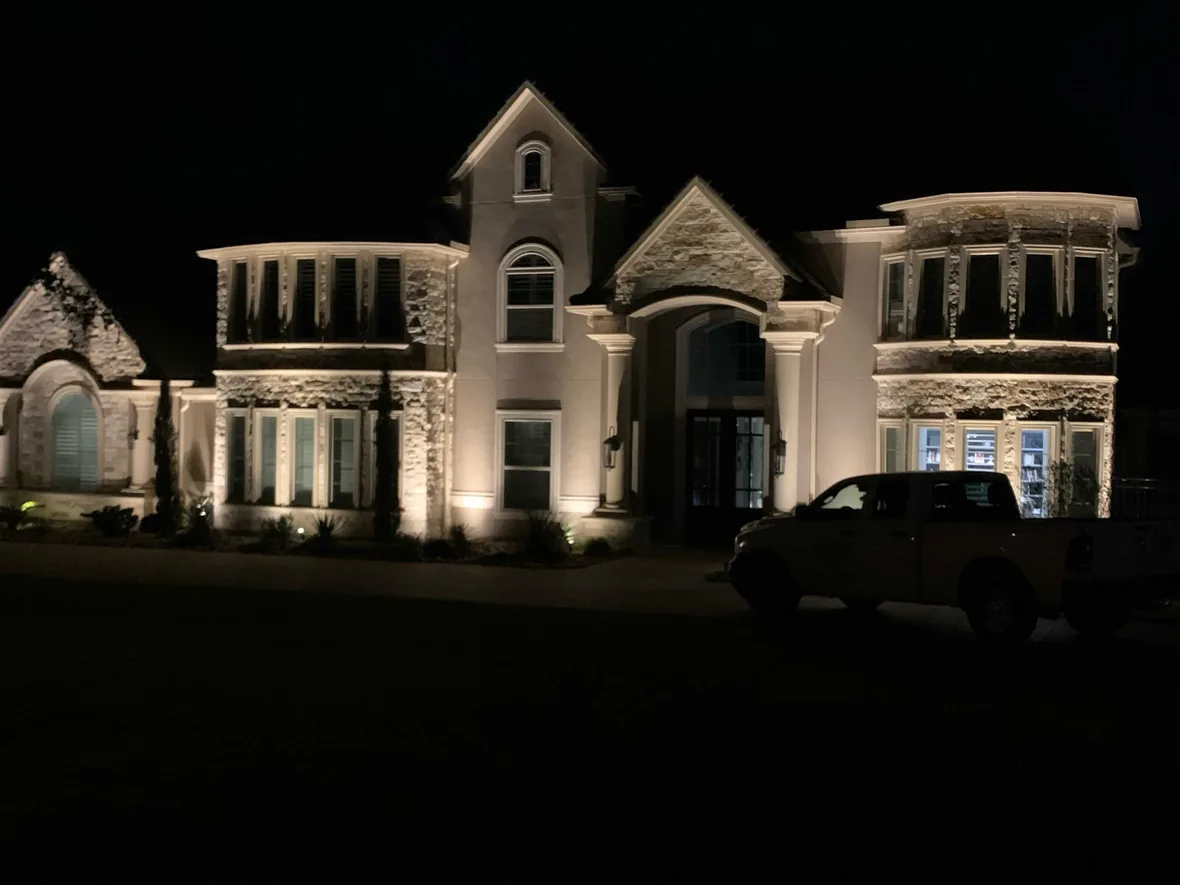
The night-time review is the step that separates a finished system from an installed one.
In daylight everything looks plausible. After dark, a fixture two feet out of position puts a hot spot on a gutter, a beam that looked wide enough leaves the top of the tree black, and the patio that measured correctly turns out to be brighter than the room behind it.
We come back after dark, look at the property from the angles that matter, and adjust. Then we do it again if it needs it.
A system is lived with, not finished
Trees grow, shrubs fill in, pools get added, houses get remodelled and fixtures eventually fail. That is not a flaw in the design; it is what happens to anything installed outdoors in Houston.
The same process applies later: look at the property as it is now, decide what it needs, adjust the system to match.
Start with a walk of the property
The first step costs nothing and takes about an hour. Everything else follows from what we find.